Python批量將圖片灰度化的實現代碼
技術關鍵
os 模塊的使用
使用 os.getcwd 獲取當前路徑 使用 os.listdir()獲取文件列表 使用 os.path.splitext() 分割文件名和擴展名 使用 PLI 的 convert(’L’) 方法將圖片轉為灰度代碼實現
from PIL import Imageimport ospath = os.getcwd() # 獲取當前路徑file_list = os.listdir()for file in file_list: filename = os.path.splitext(file)[0] filexten = os.path.splitext(file)[1] if filexten == ’.png’ or ’.jpg’: I = Image.open(file) L = I.convert(’L’) L.save(’灰度 - ’+file)
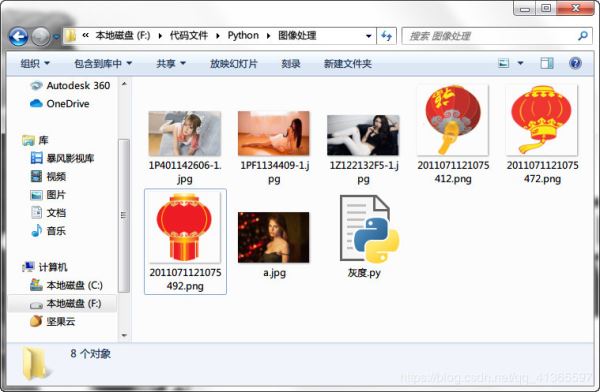
效果展示
處理前
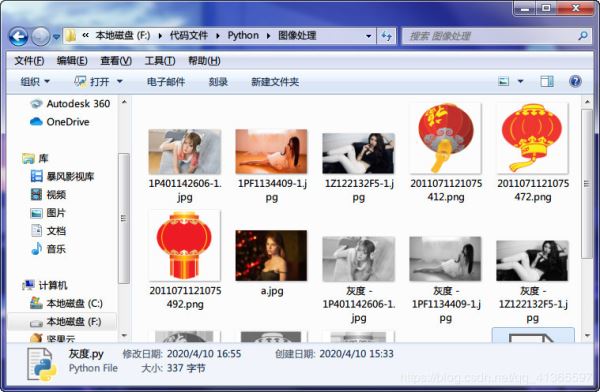
處理后
以上內容參考如下:
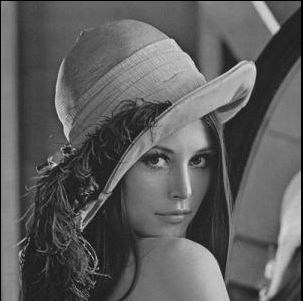
1.將RGB圖像轉換為灰度圖像:
from PIL import ImageI = Image.open(’F:pycharmpicture_formatdatalena.jpg’)I.show()L = I.convert(’L’)L.show()
輸出圖像結果圖為:
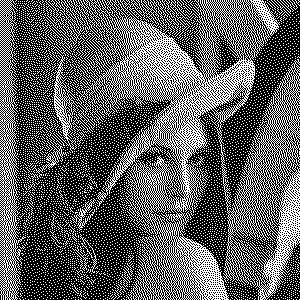
2.將RGB圖像轉換為1模式圖像:
from PIL import ImageI = Image.open(’F:pycharmpicture_formatdatalena.jpg’)I.show()L = I.convert(’1’)L.show()
輸出結果圖為:
補充代碼:
使用Python將圖像批量轉換為灰度圖像并保存
from PIL import Imageimport os input_dir = ’輸入文件夾/’out_dir = ’輸出文件夾/’a = os.listdir(file_dir) for i in a: print(i) I = Image.open(file_dir+i) L = I.convert(’L’) L.save(out_dir+i)
總結
到此這篇關于Python批量將圖片灰度化的實現代碼的文章就介紹到這了,更多相關python 圖片灰度化內容請搜索好吧啦網以前的文章或繼續瀏覽下面的相關文章希望大家以后多多支持好吧啦網!
相關文章:

 網公網安備
網公網安備